Kenmore Ultra Mini Sewing Machine Owners Manual: A Comprehensive Guide
Welcome! This manual comprehensively guides owners through the Kenmore Ultra Mini’s features, operation, and maintenance, offering detailed instructions and troubleshooting advice for optimal sewing experiences.
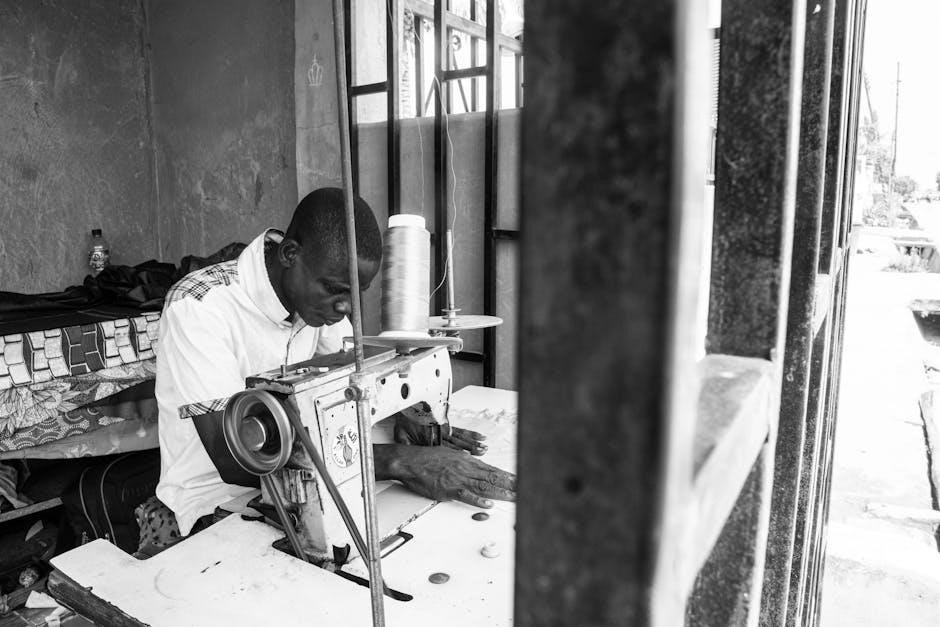
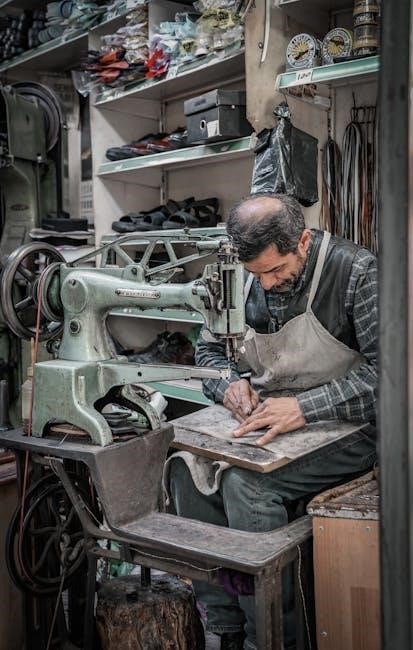
The Kenmore Ultra Mini sewing machine is a compact and versatile machine designed for both beginners and experienced sewers. Its lightweight and portable design makes it ideal for small projects, quick repairs, and taking on the go. This manual serves as your guide to unlocking the full potential of your machine, ensuring smooth and enjoyable sewing sessions.
This model, often sought after with online searches like “Kenmore Mini Ultra manual,” offers a surprising range of features in a small package. While sometimes prone to bobbin tangling – a common issue discussed on platforms like Reddit’s r/SewingMachinePorn – understanding its operation and maintenance can mitigate these challenges.
You’ll find readily available instruction and service manuals at Kenmoresewingmanuals.com, offering instant downloads or printed copies. This guide details everything from basic threading and stitch selection to advanced techniques like buttonholes, helping you master your Kenmore Ultra Mini and achieve professional-looking results.
Understanding Your Sewing Machine Model Numbers
Kenmore sewing machine model numbers are crucial for identifying the correct parts, accessories, and manuals for your specific machine. Numbers like 385.1158180, 158.1654, 158.1020, and 385.15202 are commonly found on Kenmore machines, including variations of the Ultra Mini. These numbers differentiate features and components.
Locating your model number is the first step when searching for assistance or replacement parts. Sears Parts Direct provides free PDF manuals for many vintage Kenmore models, utilizing these numbers for accurate identification. Knowing your model ensures you download the correct documentation, avoiding confusion and frustration.
The Ultra Mini itself may be referenced simply as “Kenmore Mini Ultra” in online forums, but a precise model number is always preferred for accurate support. Understanding these identifiers streamlines maintenance, repairs, and accessing the wealth of resources available for your Kenmore sewing machine.
Safety Precautions
Prioritize safety when operating your Kenmore Ultra Mini sewing machine. Always disconnect the power supply before threading, changing the needle, or performing any maintenance. Keep fingers away from moving parts, particularly the needle and feed dogs, to prevent injury.
Never force the fabric under the needle; let the machine feed the material. Use the correct needle type and size for your fabric to avoid breakage and potential hazards. Ensure the machine is stable and on a flat surface during operation.
Supervise children closely when the machine is in use or stored. Store the machine in a safe, dry location, out of reach of children. If the power cord is damaged, it must be replaced by a qualified technician. Regular maintenance and careful operation are key to safe and enjoyable sewing.
Setting Up Your Machine
Prepare for sewing! This section details essential steps for initial setup, including proper threading, bobbin winding, and secure bobbin insertion for smooth operation.
Threading the Kenmore Ultra Mini
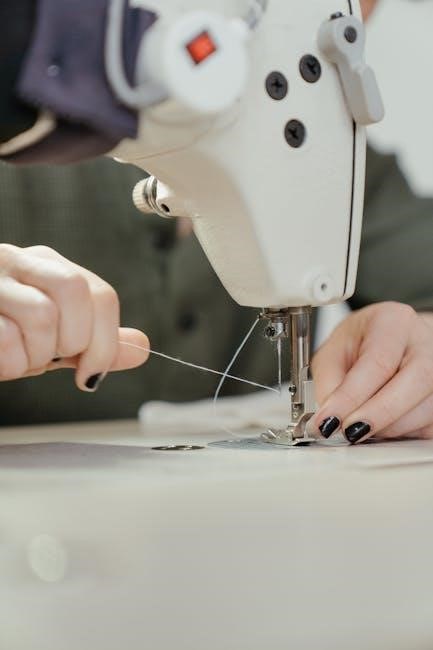
Proper threading is crucial for consistent stitch quality. Begin by ensuring the machine is turned off. Raise the presser foot; this opens the tension discs, allowing the thread to seat correctly. Guide the thread from the spool pin, through the first thread guide, and then down and around the tension disc.
Next, continue threading through the take-up lever – ensure the lever is at its highest point. After the take-up lever, lead the thread down to the needle clamp. Thread the needle from front to back. Finally, draw a sufficient length of thread through the needle eye, approximately 3-4 inches.
Important Note: Incorrect threading can cause skipped stitches or thread breakage. Always double-check that the thread is securely seated in each guide and the tension disc. Refer to the machine’s diagrams for visual assistance if needed. A correctly threaded machine is the foundation for successful sewing!
Winding the Bobbin
Preparing the bobbin is a straightforward process. Place the spool of thread onto the spool pin. Next, guide the thread through the bobbin winding tension disc. Then, thread the end of the thread through a hole in the bobbin itself, ensuring it’s securely held.
Place the bobbin onto the bobbin winder spindle. Gently push the spindle to the right to engage the winding mechanism. Press the foot pedal to begin winding. The machine will automatically stop when the bobbin is full.
Caution: Do not overfill the bobbin, as this can cause issues with stitch quality. Once full, cut the thread and remove the bobbin from the spindle. A consistently wound bobbin ensures smooth and even stitching. Always use the correct type of bobbin for your Kenmore Ultra Mini.
Inserting the Bobbin
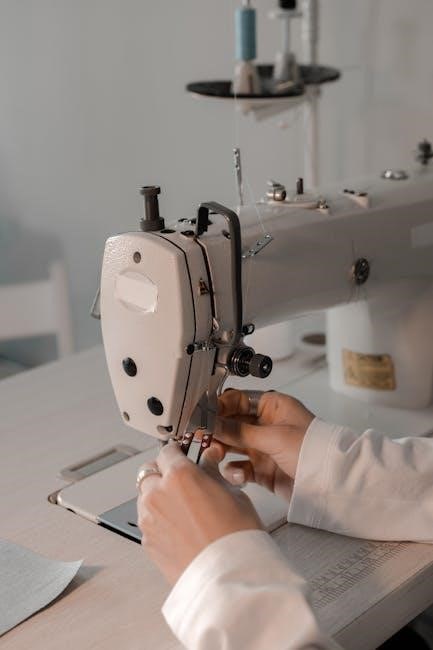
Proper bobbin insertion is crucial for consistent stitching. Locate the bobbin case on the underside of the machine. Gently pull the bobbin case latch open. Insert the wound bobbin into the bobbin case, ensuring the thread unwinds in a clockwise direction – this is vital for correct tension.
Guide the thread through the tension spring of the bobbin case. Then, carefully re-insert the bobbin case back into its compartment, securing the latch. Gently pull on the thread to ensure it’s properly engaged with the take-up lever.
Important: Incorrect bobbin insertion can lead to tangled thread and poor stitch formation. Always double-check the thread path and direction before beginning to sew. A correctly inserted bobbin is the foundation for successful sewing projects.
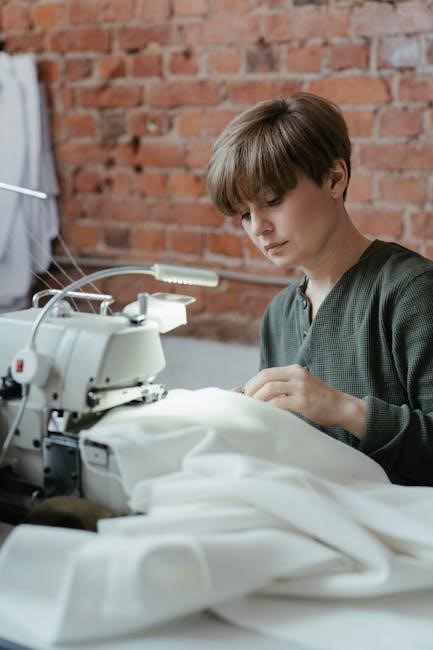
Basic Sewing Operations
Mastering the basics unlocks your machine’s potential! This section details stitch selection, length/width adjustments, and executing flawless straight stitches for all projects.
Selecting Stitch Patterns
The Kenmore Ultra Mini offers a variety of stitch patterns to accommodate diverse sewing needs. Typically, a dial or selector button allows you to choose from options like straight stitch, zigzag stitch, and potentially a buttonhole stitch, depending on the specific model. Refer to the stitch diagram printed on the machine itself – it’s a crucial visual guide!
To select a stitch, rotate the dial or press the corresponding button until the desired pattern number aligns with the indicator mark. Ensure the machine is turned off when changing stitches. Experiment with different stitches on scrap fabric to understand their unique applications. Straight stitches are ideal for seams, while zigzag stitches are perfect for finishing raw edges or creating decorative effects. The 4-step buttonhole feature, if available, will have its own dedicated setting. Always test your chosen stitch before beginning your project to guarantee the desired outcome.
Adjusting Stitch Length and Width
Precise control over stitch length and width is vital for achieving professional-looking results. The Kenmore Ultra Mini usually features separate dials or sliders for each adjustment. Stitch length determines the distance between stitches – shorter lengths are suitable for delicate fabrics, while longer lengths are better for heavier materials.
To adjust stitch length, rotate the corresponding dial. A higher number generally indicates a longer stitch. Similarly, the stitch width dial controls the breadth of zigzag stitches. Wider settings create broader stitches, ideal for decorative applications or securing stretchy fabrics. Always test adjustments on scrap fabric before sewing your project. Incorrect settings can lead to puckering or weak seams. Remember to consult the machine’s diagram for specific settings recommendations based on fabric type and desired effect.
Sewing Straight Stitches
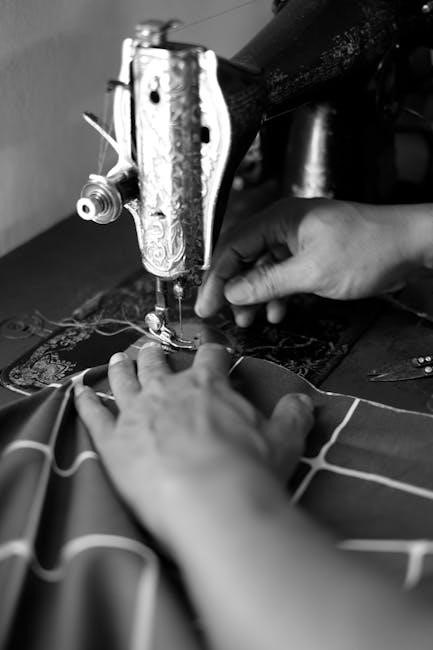
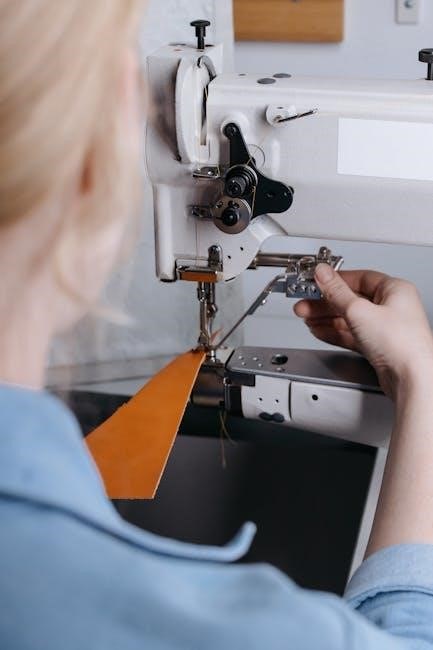
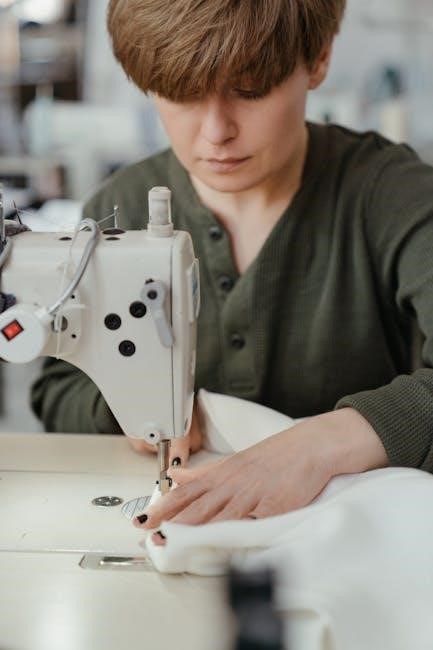
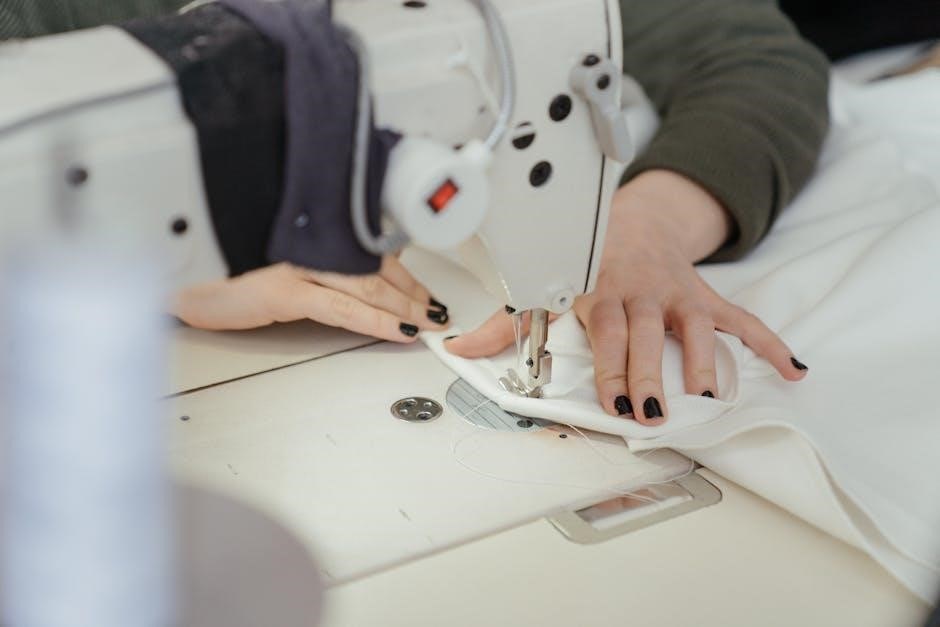
Mastering the straight stitch is fundamental to sewing. Begin by threading the machine and inserting a correctly sized needle for your fabric. Place your fabric under the presser foot, aligning the edge with the desired seam allowance guide on the needle plate. Gently lower the presser foot.
Slowly depress the foot pedal, guiding the fabric with both hands – not pulling or pushing. Maintain a consistent speed and keep your eyes focused slightly ahead of the needle. The feed dogs will automatically move the fabric. For longer seams, use the edge guide to ensure a straight line. Practice on scrap fabric to develop a smooth, even rhythm. Remember to backstitch at the beginning and end of the seam to secure the stitches, preventing unraveling.
Advanced Features & Techniques
Explore the Kenmore Ultra Mini’s capabilities! This section details buttonhole creation, feed dog adjustments, reverse sewing, and backstitching for enhanced project outcomes.
Using the 4-Step Buttonhole Feature
The Kenmore Ultra Mini boasts a convenient 4-step buttonhole feature, simplifying the creation of professional-looking buttonholes. Begin by selecting the buttonhole stitch on your machine – typically indicated by a specific number or symbol.
Next, measure the diameter of your button and adjust the buttonhole length setting accordingly using the designated dial or controls. This ensures the finished buttonhole is appropriately sized.
Now, place the button under the presser foot, aligning it with the marked guidelines. Slowly and steadily begin sewing, allowing the machine to complete the first step of the buttonhole process.
Follow the machine’s prompts for the remaining three steps, pausing and pivoting as directed. Typically, this involves stopping at each corner to adjust the fabric’s position.
Finally, carefully remove the fabric and clip the buttonhole threads, being cautious not to cut the stitch lines. Practice on scrap fabric first to master the technique and achieve consistent results.
Understanding Feed Dogs and Their Adjustment
Feed dogs are the small, toothed metal pieces beneath the presser foot, crucial for advancing fabric during sewing. They grip and move the material with each stitch, ensuring even feeding. The Kenmore Ultra Mini’s feed dogs are generally pre-set for standard fabric weights.
However, adjustments may be necessary for specialized fabrics. A drop feed mechanism, if available on your model, allows you to disengage the feed dogs entirely. This is useful for free-motion quilting or darning, where you control fabric movement.
For lightweight or slippery fabrics, slightly reducing the presser foot pressure can improve feed. Conversely, for heavier fabrics, increasing pressure might be needed. Observe the fabric’s movement; uneven feeding indicates a need for adjustment.
Consult your machine’s diagrams to locate the feed dog adjustment lever or dial. Experiment with small changes and always test on scrap fabric before sewing your project. Proper feed dog adjustment is vital for stitch quality.
Reverse Sewing and Backstitching
Reverse sewing, or backstitching, is essential for securing seams at the beginning and end, preventing unraveling. The Kenmore Ultra Mini features a dedicated reverse lever or button, typically located near the handwheel or stitch selector.
To backstitch, press and hold the reverse lever while sewing. The machine will automatically reverse direction, stitching backwards over the previous stitches. Release the lever to return to forward sewing. Practice on scrap fabric to become comfortable with the transition.
A common technique is to backstitch a few stitches at the start of a seam, sew forward to the end, and then backstitch again to lock the threads. The length of the backstitch should be short, approximately 1/4 inch.
Avoid excessive backstitching, as it can create bulk and potentially damage the fabric. Use it strategically for reinforcement. Always test the seam strength after backstitching to ensure it’s adequately secured.
Troubleshooting Common Issues
Facing difficulties? This section provides solutions for frequent problems like thread tangling, bobbin errors, and needle breakage, ensuring smooth operation of your Kenmore Ultra Mini.
Dealing with Thread Tangling
Thread tangling is a common frustration, but often easily resolved. First, re-thread the entire machine, ensuring the presser foot is up during threading – this opens the tension discs. Verify the thread is correctly seated in all guides and the tension dial isn’t set too tight.
Bobbin issues frequently contribute; confirm the bobbin is wound evenly and inserted correctly, following the manual’s diagram. Use quality thread appropriate for your fabric. Clean the machine thoroughly, removing lint and dust from the bobbin area and tension discs, as buildup hinders smooth operation.
Slow down your sewing speed; rushing can exacerbate tangling. If problems persist, try a different needle, ensuring it’s the correct type and size for your fabric. Remember, consistent maintenance prevents many tangling occurrences!
Fixing Bobbin Issues
Bobbin problems can range from inconsistent stitching to complete stops. Begin by ensuring the bobbin is wound evenly – uneven winding causes tension imbalances. Check the bobbin case for lint or thread fragments; a clean case is crucial for smooth operation. Insert the bobbin correctly, following the diagram in your manual; incorrect insertion is a frequent cause of issues.
Verify the bobbin tension isn’t too tight or loose. A slight adjustment can often resolve problems. If the bobbin thread consistently loops on the underside of the fabric, increase the bobbin tension. Conversely, if it pulls excessively, decrease it.
Use only quality bobbins designed for your machine. Metallic or heavily textured threads may require different bobbin types. Regularly inspect and clean the bobbin area to prevent buildup and ensure consistent performance.
Addressing Needle Breakage
Needle breakage is frustrating, but often preventable. First, always use the correct needle type and size for your fabric. Lightweight fabrics require finer needles, while heavier materials need stronger ones. Ensure the needle is fully inserted and securely tightened – a loose needle is prone to breaking.
Avoid sewing over pins! This is a primary cause of needle damage. If you must sew near pins, slow down and use a pin positioning tool. Check the needle for any bends or damage before each use; a damaged needle should be replaced immediately.
Incorrect threading or tension can also strain the needle. Re-thread the machine carefully, ensuring the thread is properly seated in all guides. Regularly clean the machine to prevent lint buildup, which can interfere with needle movement.
Maintenance and Care
Regular upkeep ensures longevity! Consistent cleaning, proper lubrication, and careful storage will keep your Kenmore Ultra Mini sewing machine functioning smoothly for years.
Cleaning Your Sewing Machine
Maintaining a clean machine is crucial for optimal performance. Before any cleaning, always disconnect the power supply. Begin by removing the bobbin case and any thread remnants from the bobbin area. Use a small brush – often included with the machine – to gently remove lint and dust from this space, as well as around the feed dogs.
For the exterior, wipe down the machine’s surface with a soft, slightly damp cloth. Avoid harsh chemicals or abrasive cleaners, as these can damage the finish. Pay attention to areas where lint accumulates, such as around the needle plate and stitch selector dial. A cotton swab dipped in rubbing alcohol can be used to carefully clean hard-to-reach spots.
Periodically, you may need to remove the needle plate for a more thorough cleaning. Refer to your machine’s diagram for proper removal and reinstallation. Remember to oil the machine after cleaning, as detailed in the lubrication guide, to ensure smooth operation. Consistent cleaning prevents thread tangling and extends the life of your Kenmore Ultra Mini.
Lubrication Guide
Proper lubrication ensures smooth, quiet operation and prolongs your Kenmore Ultra Mini’s lifespan. Use only sewing machine oil – never oil containing graphite or detergents; Disconnect the power before lubricating. Apply a small drop of oil to the bobbin race, ensuring it reaches the rotating hook. Carefully oil the motor shaft, if accessible, and any other moving parts indicated in the parts diagram.
A tiny drop on the needle bar and around the presser foot bar is also beneficial. Avoid over-oiling, as excess oil attracts dust and lint. After oiling, manually turn the handwheel several times to distribute the oil evenly. Wipe away any excess oil with a clean, lint-free cloth.
Regular lubrication – ideally after every 8 hours of use, or as needed – prevents friction and wear. Do not lubricate the bobbin winder tension spring or the feed dogs. Consistent, careful lubrication is key to maintaining peak performance of your sewing machine.
Storage Recommendations
Proper storage protects your Kenmore Ultra Mini from dust, damage, and environmental factors. Always unplug the machine and remove the needle before storing. Cover the machine with the dust cover provided, or a suitable cloth, to prevent dust accumulation. Store in a dry, climate-controlled environment, avoiding areas with high humidity or extreme temperatures.
Avoid storing the machine in direct sunlight, as this can fade the plastic components. If storing for an extended period, lightly oil the machine as described in the lubrication guide to prevent corrosion. Keep the foot pedal and accessories together with the machine for easy access.
Ensure the storage location is secure and prevents accidental bumps or falls. A dedicated sewing space or a sturdy shelf is ideal. Regular checks during storage will ensure your machine remains in optimal condition for your next project.
Parts and Accessories
Explore essential components! This section details key machine parts, available accessories for enhanced functionality, and guidance on locating replacement parts when needed.
Identifying Key Machine Parts
Understanding your machine’s anatomy is crucial for effective use and maintenance. The Kenmore Ultra Mini, while compact, comprises several key components working in harmony. These include the handwheel, used for manual control of the needle; the spool pin, holding the thread spool; the bobbin winder, essential for preparing the bobbin; and the needle clamp screw, securing the needle.
Further essential parts are the presser foot, applying pressure to the fabric; the feed dogs, advancing the fabric; the stitch length dial, controlling stitch size; and the stitch width dial, adjusting zigzag stitch width. Don’t forget the reverse lever for backstitching and the power switch for operation. Familiarizing yourself with these parts, often depicted in parts lists available online, will greatly aid in troubleshooting and performing routine maintenance, ensuring your Kenmore Ultra Mini operates smoothly for years to come.
Available Accessories for the Ultra Mini
Enhance your sewing capabilities with a range of accessories designed for the Kenmore Ultra Mini. While a basic set typically accompanies the machine, expanding your collection unlocks greater versatility. Common accessories include additional presser feet – a zipper foot for precise zipper insertion, and a buttonhole foot for consistent buttonholes.
Needle sets are vital, offering various sizes and types for different fabrics. A seam ripper is indispensable for correcting mistakes, and extra bobbins prevent interruptions during projects. Consider a dust cover to protect your machine when not in use. Some retailers offer quilting guides and edge stitchers for specialized tasks. Online resources and sewing supply stores are excellent sources for locating these accessories, ensuring your Kenmore Ultra Mini meets all your creative sewing needs.
Finding Replacement Parts
Maintaining your Kenmore Ultra Mini often requires replacing worn or broken parts. Fortunately, several avenues exist for sourcing replacements. Sears Parts Direct is a primary resource, frequently offering original Kenmore parts and downloadable manuals, including PDFs for vintage models. Online marketplaces like eBay and Amazon can also yield results, though verifying part compatibility is crucial.
Specialty sewing machine parts retailers often stock a wide selection, and knowledgeable staff can assist with identification. When ordering, have your machine’s model number readily available – this ensures you receive the correct component. Parts reference lists, sometimes found online, can aid in identifying the specific part needed. Remember to compare prices and shipping costs before finalizing your purchase, guaranteeing a cost-effective repair and continued use of your sewing machine.
Leave a Reply